Thursday, May 23, 2013

Peachy's Arty Party

As soon as we were done with Peachy's Ice Cream Party last year, maybe even before that, I knew what her part theme would be for this year. (Obsessive much??) Peachy loves, loves, loves her art. She will sit with her art materials for hours at a time. I just knew she "needed" an art party.
And so I began scouring Pinterest and Google Images for art party ideas. There are plenty of great ideas out there. You can check out my Arty Party board on Pinterest for many of the ideas I found.
I started with the invitation. The inspiration for the invitation is from P is for Party and the party they featured from Magnolia Creative. I made mine using my Silhouette SD. (I have yet to blog about my new toy, but I love it and will share more at a later date.)
I also made this banner with my Silhouette. I used paper from Amy Locurto's PB Party line called Over the Rainbow.
I tried to use items I had around the house in decorating. The felt garland along with the small rainbow pennant garlands were made for my craft fair in February. I also use the rainbow IKEA TOLSBY frames in my craft booth.
The large picture frames I painted a while back and am intending to eventually use them as kids' art displays in our downstairs. I made the paper pinwheels using my Silhouette.
I had made the girls rainbow shirts for St. Patrick's day. I also had the rainbow crepe paper from a St. Patrick's Day project.
My friends all know my cake balls well. I use Bakerella's method with a crumbled sheet cake mixed in with a tub of frosting and dipped in almond bark. Then I sprinkled them with a rainbow of jimmys and colored sugar. I cut out a large palette shape to display them on, using my, you guessed it, Silhouette.
I had intended to have the art portion of the party in our backyard, but the weather was super windy and chilly, so Mr. Cherry and my dad cleaned out the garage for our art studio.
 I made a rainbow of playdough using a basic playdough recipe and adding in lots of food coloring. (My hands were a lovely explosion of colors for a few days.)
I also had purchased paint daubers from Michaels and used them with printed activity sheets. (Just do a search and you will find plenty.)
I had wanted to spray a huge sheet of fabric with colored water (water and food coloring in spray bottles) but once we made the decision to use the garage I cut individual sheets of muslin for the kids to use and spray their own.
My master plan was to use the painted fabric as a photo booth backdrop with some of the painted frames, but that just didn't happen. We may have to have a future playdate with that as an activity because I was really looking forward to it!
 Here are some of the artists at work in the studio.
 The great thing about the activities is that they were suitable for all of the ages we had at the party and they didn't require a lot of supervision or supplies.
The final activity was making a necklace using fruit loops and a ribbon. The necklaces and the treat were enjoyed by all.
For favor bags I used some muslin bags that I had purchased from this website and then had Peachy color pictures on them with fabric markers.
We made some homemade watercolor paints using this recipe  and placed in these cups from Amazon. (Don't mind the fact that they are actually intended for Jello shots!)
We also had aprons for all of the guests that I also ordered from Amazon. I made stickers using my Silhouette once again with each of the guests names on to place on the aprons. (Since I needed 13 aprons and they came by the dozen, I made a special one for the birthday girl. I found my rainbow fabric at Wal-Mart and used the leftover for decorating the tables.)
For the babies of the group, I made little stuffed sensory clouds with this as my inspiration.
Here is a simple crayon wreath that I hung on the door. I made a wreath form from some cardboard and hot glued the crayons to it. I added a painted 4 and one of the paper buntings. I loved how it all looked on our red front door!
 I kept the food pretty simple and just went with fruits and veggies. In order to fit it into the theme, I put them all in their own bowls and arranged them in rainbow order on the table. I also made little creative juice labels for the juice boxes.
***A big thank you to my friend Tina for taking all of the pictures at the party. It is wonderful to have good friends and it is even better to have good friends with good cameras!!***

Tuesday, May 21, 2013

Take Your Kids to Work Day

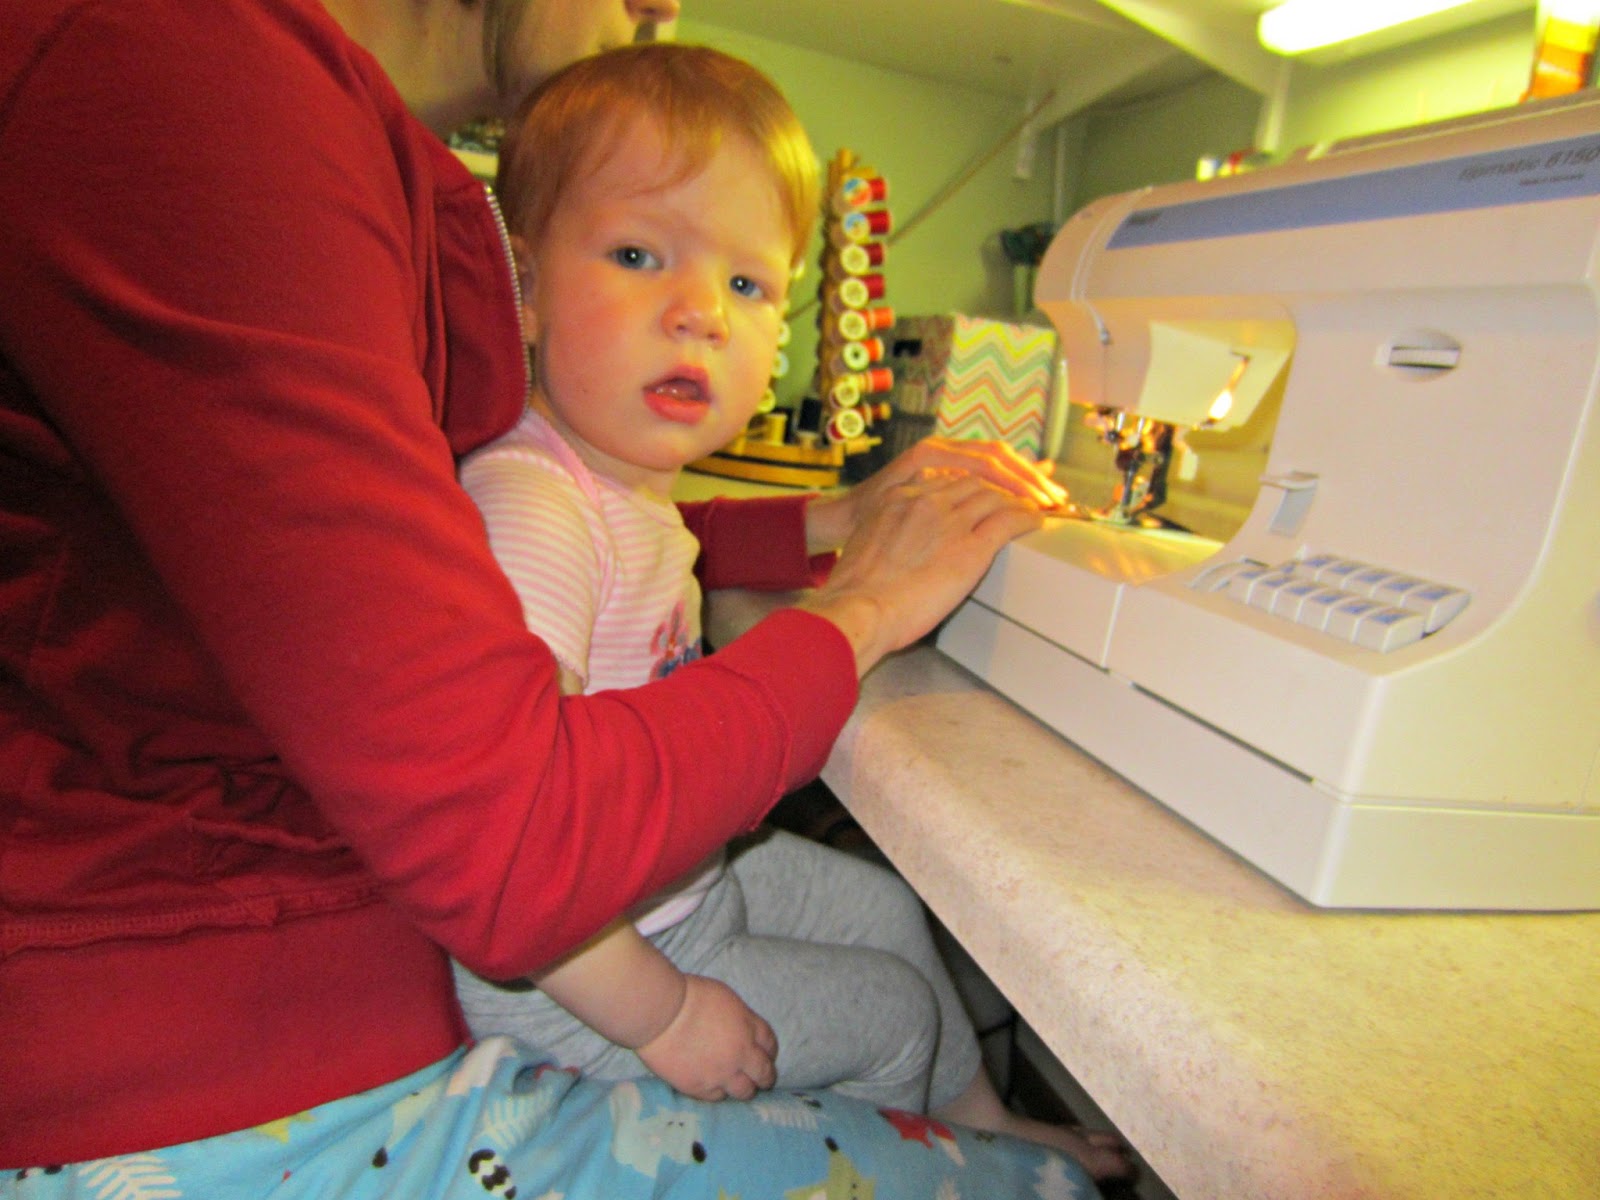
I have been working hard at building up my inventory for another craft show I will be participating in on June 1st. While it is easiest to work while the girls are otherwise occupied, some days I end up working while they are playing around me. And then there are days that I work while they are playing on me! :o) Shhh, don't tell OSHA! And don't tell anyone that some days I still am in my pajamas at lunch time.
I have been adding items to my Etsy shop and will continue to do so as my inventory grows for the show! Feel free to stop in a take a look around!

Wednesday, May 15, 2013

Kid Activities: Grass Heads


This is a fun project that the girls did at our family fun class a couple of weeks ago. It was super simple, perfect for lots of ages, and the fun is still going as we watch them continue to grow.
This is one week after planting.
We started by turning a knee high nylon over a plastic cup. (So that just the toe was left in the cup and the rest of the sock was stretched up and over the outside of the cup.) Then we added one scoop of grass seed and filled the rest of the toe with dirt. Tie a knot in the sock at the top of the dirt, cut off the extra, and flip it over so that the knot is on the bottom of the cup. The class had cute eye stickers that the girls added. (They only had one left when Peachy got around to hers, but she was okay with that. She said it is a one eyed monster.) To water it, we sprayed with water in a spray bottle. We have been watering ours every other day.

The other plants in the picture were form the Target Dollar Spot. One has basil and the other cilantro. Peachy enjoyed helping me plant those as well.

Monday, May 6, 2013

Kid Activities: Painting with Water

This is a perfect no mess, but lots of fun activity for really any age.
I simply gave each girl a piece of construction paper, a small bowl with a little water in it, and a sponge paint brush.
They each painted until their paper was saturated.
We just let the paper dry and then we could use it again another day! Perfect! We have also painted with water outside. Another no mess activity!

Friday, April 26, 2013

Foodie Friday: Cheater Homemade Chicken Noodle Soup

As I mentioned earlier this week, we were a sick house last week. I needed to find meal ideas that were bland enough that our stomachs could handle them, but also nutritious enough to help us get healthy! One day I ended up making this homemade chicken soup, but mine had a secret. I started it at 11 and we ate it by noon., but it was still had a great flavor. The secret? I started out with store bought chicken stock.
Peachy before chicken noodle soup.

Cheater Homemade Chicken Noodle Soup


Ingredients:

-32 ounces store-bought chicken stock
-2 frozen boneless skinless chicken breasts
-chopped carrots, onions, and whatever other veggies you have on hand (You could also substitute a bag of frozen mixed vegetables.)
-1 cup uncooked noodles (I used elbow, but any pasta would do.)
-salt and pepper to taste

Directions

1. Pour stock into large pot. Add in frozen chicken and bring to boil. Lower heat to simmer. Continue to cook until chicken is cooked through. (Check with a thermometer or cut it open to make sure it is no longer pink.)
2. Remove chicken and chop into bite-sized pieces. Return to pot.
3. Add in vegetables and continue simmering until vegetables are tender.
4. Add pasta and return to a boil. Cook according to package directions.
5. Add salt and pepper to taste.

And there you have it. Easy and quick, but yummy and hardy chicken noodle soup.
Peachy after eating the chicken noodle soup. *Results may vary.*

Tuesday, April 23, 2013

Kid Activities: Tubes and Poms

I have all of these great pins on activities to do with the girls, but so much of the time I just do the same old activities. I decided to try to start being more intentional in the activities that we do. (Thanks to the wonderful Emily of Imperfect for inspiring me!)
I started by looking through my Preschool board and making a short list of activities and pojects that we could do. I tried to keep them limited to simple ideas that made use of items we already had on hand.
Here is one of the successful activities that we completed. The idea is from Imperfect Homemaker's list of 15 (more) Independent Activities for One-Year-Olds. I used painters tape to attach paper towel tubes to the side of the cupboards, making sure that they lined up to make a clear pathway. The girls could put pom poms through the tunnels and watch them come out the bottom. Sometimes we let had them fall to the floor and sometimes we had something under to catch them.

 While this was aimed toward the younger crowd, both girls enjoyed playing with the tunnels together.

 Later in the day, while Cream was napping, we changed the path to make one that connected the tubes and zig-zagged back and forth.

And then Peachy tried her hand at designing her own path. She even tried to incorporate wooden blocks. When we were done, I simply removed the tubes and stashed everything away for another day.

Tuesday, April 9, 2013

Boden Inspired: Felt Circle Shirt

A while back, my friend had given me some pages from a Boden catalog of their felt embellished shirts as some inspiration.  Of course they were seasonal and I can no longer link to the actual shirts, but here is one from Ebay.
When that friend's daughters birthday rolled around, I knew just what to make for her. I decided to go with felt circles and a found a great stripped shirt at Target.
I layered mustard and grey wool blend felt and sewed a simple navy line through each one. I love how it turned out and may need to make one for myself.