Friday, June 28, 2013

Foodie Friday: Grilled Chicken Tex-Mex Pizza


We love grilling in the summer. One of our specialties is pizza. It isn't always easy, but the extra effort is definitely worth it. I came across this recipe for Grilled Tex-Mex Pizza at A Spicy Perspective and thought that we should give it a try. I used my usual homemade dough recipe. We also didn't take the time to grill the chicken first, although I am sure it would be tasty. I just cooked it up on a skillet on the stove. We used our normal method for grilling pizzas which involves a terra cotta plant saucer. It was delicious. Everyone happily ate it and there are a couple of pieces left over for a yummy lunch another time. Here is a link to the recipe: Grilled Tex-Mex Pizza, please note that the recipe makes two pizzas.

Friday, June 21, 2013

Foodie Friday: BLT Chop Salad


I love this time of year. When I can just mosey out to the backyard, cut some lettuce and spinach from our garden and make a yummy salad. Nothing beats fresh lettuce in a salad. Normally I just make my salads by throwing in whatever sounds good that we have on hand. However, I pinned this recipe from the website Key Ingredient and made it this week. It was so yummy. I wasn't sure how the lack of a true salad dressing would be, but we all loved it with just the olive oil and lime juice. Instead of the arugula, I used spinach. Otherwise, I followed the recipe. Jump on over to Key Ingredient for the full BLT Chopped Salad with Corn, Feta, and Avocado.

Friday, June 7, 2013

Foodie Friday: Texas Toast French Toast Bake

We had some overnight guests as they were passing through this past weekend. This awesome family lives in the city I first lived in when I graduated college. It was awesome seeing them again. Unfortunately only one of their four kiddos made the trip with them. (I taught their oldest son in preschool. He is now 13!!! Eeek!) They weren't here for long, but we picked up right where we left off. The sign of true friends. The girls were already in bed when they arrived, but they both had a blast the next morning waking up to company in the house.
Couldn't these girls all be sisters?
Anyway, I have found a new breakfast dish that I like to make when we have company Texas Toast French Toast Bake from Chew Out Load. It is an overnight dish which is perfect for when you have visitors. You do a little work the night before and then in the morning all you have to do is pop it in the oven. And it is soooo good. One of my breakfast specialties is from scratch cinnamon rolls, but they are time consuming and are never ready super early in the morning. This Texas Toast French Toast Bake is almost as yummy and seriously a fraction of the work.
This picture was actually taken the next morning. Let me tell you, it is just as good  the second day.

Thursday, June 6, 2013

Craft Booth Sign and Name Tag

So, before my sale last weekend, I decided to make a new sign for my booth. I also decided to make my mom and I name tags. Of course I always put these things off until the last minute. So, Friday afternoon when I should have been cleaning the house and loading the van, I was in my craft area creating these items. However, I handle pressure well and a deadline is sometimes  just what I need to sit down and hammer out a good project.
For the sign I used a spray painted frame I already had. I then cut out a piece of tag board to fit the opening and gave it several coats of chalk board paint. To give it a little support, I cut two pieces of cardboard to put behind the tag board. (I was classy and used masking tape to secure the cardboard. I am cool like that.) I did prime the board with chalk, but since time was of the essence I didn't wait the full 24 hours recommended to use it, but it all seems to have worked properly. I then added the rolled fabric rosettes to the corner. Thankfully I found a metal easel in the house and it worked perfectly to hold the frame.

For the name tags, I used rolled fabric flowers as well that I backed in felt. I added a bar pin as well as an alligator clip to the back. (Really happy that I did that as I ended up clipping it to my winter coat. Ha!) Then I attached one of my twill tape tags that I make as well as a piece of twill tape for my name. And a name tag was born.

Tuesday, June 4, 2013

Cold Sale, Fun Sale

This past weekend I was able to be a vendor at a biyearly sale in our community. It was my third time participating. And I have had a blast every time. (You can read about time #1 here.) This time I did the show as kiki b omi designs rather than with my friends. So I didn't have to sit out there all day by myself, I recruited my mom to come and do the show with me! (I am totally kicking myself that I didn't have anyone take a picture of the two of us at the booth. Doh!)
This sale will always be remembered as a very cold and windy sale. However, the people still came and we all had a great, although chilly, time. I look at it like a merit badge. I made it through the coldest outdoor sale of all time!!! I am a hard core crafter, people!! Watch out! (Okay, that might be an exaggeration, but it is my blog.)
Anyway, Mr. Cherry came down with me to help me get my backdrop all set up. I have these peg board panels that I bought used. To spiff up the pegboard a bit, we have been covering it all with craft paper. (And by we, I mean Mr. Cherry. I like to leave all things that require precision and attention to detail to him. It just works better that way.)
Once we got the backdrop set up, I started playing around with the layout. We ended up taking one of the side walls down so that I could make use of my two tables. I set my 5 footer up on one end and then my 4 footer at the other. I ended up extending the 4 footer to the counter top height. I covered the tables with some of my vintage table cloths and started plunking down my displays.
For displays, I go around the house and look at anything that might be able to hold something. Then I throw them all into the van and figure it all out on sale day. Hey, don't mock it. It works! Anyway, I ended up with my all time favorite display for this show. Woohoo!
Then it was just a matter of waiting for the people to come and the show to open. The main attraction at this show is re-purposed and refinished items, mainly furniture. Hence the name, Junk Market. People start lining up over an hour ahead of time to get in! Even in the freezing cold, there were still people lining up. Gotta love living up north.
We are hardy here! And while there were quiet times throughout the day, it was a good show. And when it was quiet, I got to sit and chat with my mom. I also got to meet some cool people. The booth next to me was also being manned by a younger mother-daughter team. They were so sweet.
After being outside for around 10 hours, it was time to pack it all up and head home to Chinese food!! (We had been smelling Chinese all day and were craving it!!!)
The take away from this story is that not everyday will be perfect, but it is wonderful to know that people are out there to support small and local businesses! That was indeed heartwarming!
 Did you see something in these pictures that you might "need"? Check out my Facebook page to see if they are still available!! kiki b omi designs

Thursday, May 23, 2013

Peachy's Arty Party

As soon as we were done with Peachy's Ice Cream Party last year, maybe even before that, I knew what her part theme would be for this year. (Obsessive much??) Peachy loves, loves, loves her art. She will sit with her art materials for hours at a time. I just knew she "needed" an art party.
And so I began scouring Pinterest and Google Images for art party ideas. There are plenty of great ideas out there. You can check out my Arty Party board on Pinterest for many of the ideas I found.
I started with the invitation. The inspiration for the invitation is from P is for Party and the party they featured from Magnolia Creative. I made mine using my Silhouette SD. (I have yet to blog about my new toy, but I love it and will share more at a later date.)
I also made this banner with my Silhouette. I used paper from Amy Locurto's PB Party line called Over the Rainbow.
I tried to use items I had around the house in decorating. The felt garland along with the small rainbow pennant garlands were made for my craft fair in February. I also use the rainbow IKEA TOLSBY frames in my craft booth.
The large picture frames I painted a while back and am intending to eventually use them as kids' art displays in our downstairs. I made the paper pinwheels using my Silhouette.
I had made the girls rainbow shirts for St. Patrick's day. I also had the rainbow crepe paper from a St. Patrick's Day project.
My friends all know my cake balls well. I use Bakerella's method with a crumbled sheet cake mixed in with a tub of frosting and dipped in almond bark. Then I sprinkled them with a rainbow of jimmys and colored sugar. I cut out a large palette shape to display them on, using my, you guessed it, Silhouette.
I had intended to have the art portion of the party in our backyard, but the weather was super windy and chilly, so Mr. Cherry and my dad cleaned out the garage for our art studio.
 I made a rainbow of playdough using a basic playdough recipe and adding in lots of food coloring. (My hands were a lovely explosion of colors for a few days.)
I also had purchased paint daubers from Michaels and used them with printed activity sheets. (Just do a search and you will find plenty.)
I had wanted to spray a huge sheet of fabric with colored water (water and food coloring in spray bottles) but once we made the decision to use the garage I cut individual sheets of muslin for the kids to use and spray their own.
My master plan was to use the painted fabric as a photo booth backdrop with some of the painted frames, but that just didn't happen. We may have to have a future playdate with that as an activity because I was really looking forward to it!
 Here are some of the artists at work in the studio.
 The great thing about the activities is that they were suitable for all of the ages we had at the party and they didn't require a lot of supervision or supplies.
The final activity was making a necklace using fruit loops and a ribbon. The necklaces and the treat were enjoyed by all.
For favor bags I used some muslin bags that I had purchased from this website and then had Peachy color pictures on them with fabric markers.
We made some homemade watercolor paints using this recipe  and placed in these cups from Amazon. (Don't mind the fact that they are actually intended for Jello shots!)
We also had aprons for all of the guests that I also ordered from Amazon. I made stickers using my Silhouette once again with each of the guests names on to place on the aprons. (Since I needed 13 aprons and they came by the dozen, I made a special one for the birthday girl. I found my rainbow fabric at Wal-Mart and used the leftover for decorating the tables.)
For the babies of the group, I made little stuffed sensory clouds with this as my inspiration.
Here is a simple crayon wreath that I hung on the door. I made a wreath form from some cardboard and hot glued the crayons to it. I added a painted 4 and one of the paper buntings. I loved how it all looked on our red front door!
 I kept the food pretty simple and just went with fruits and veggies. In order to fit it into the theme, I put them all in their own bowls and arranged them in rainbow order on the table. I also made little creative juice labels for the juice boxes.
***A big thank you to my friend Tina for taking all of the pictures at the party. It is wonderful to have good friends and it is even better to have good friends with good cameras!!***

Tuesday, May 21, 2013

Take Your Kids to Work Day

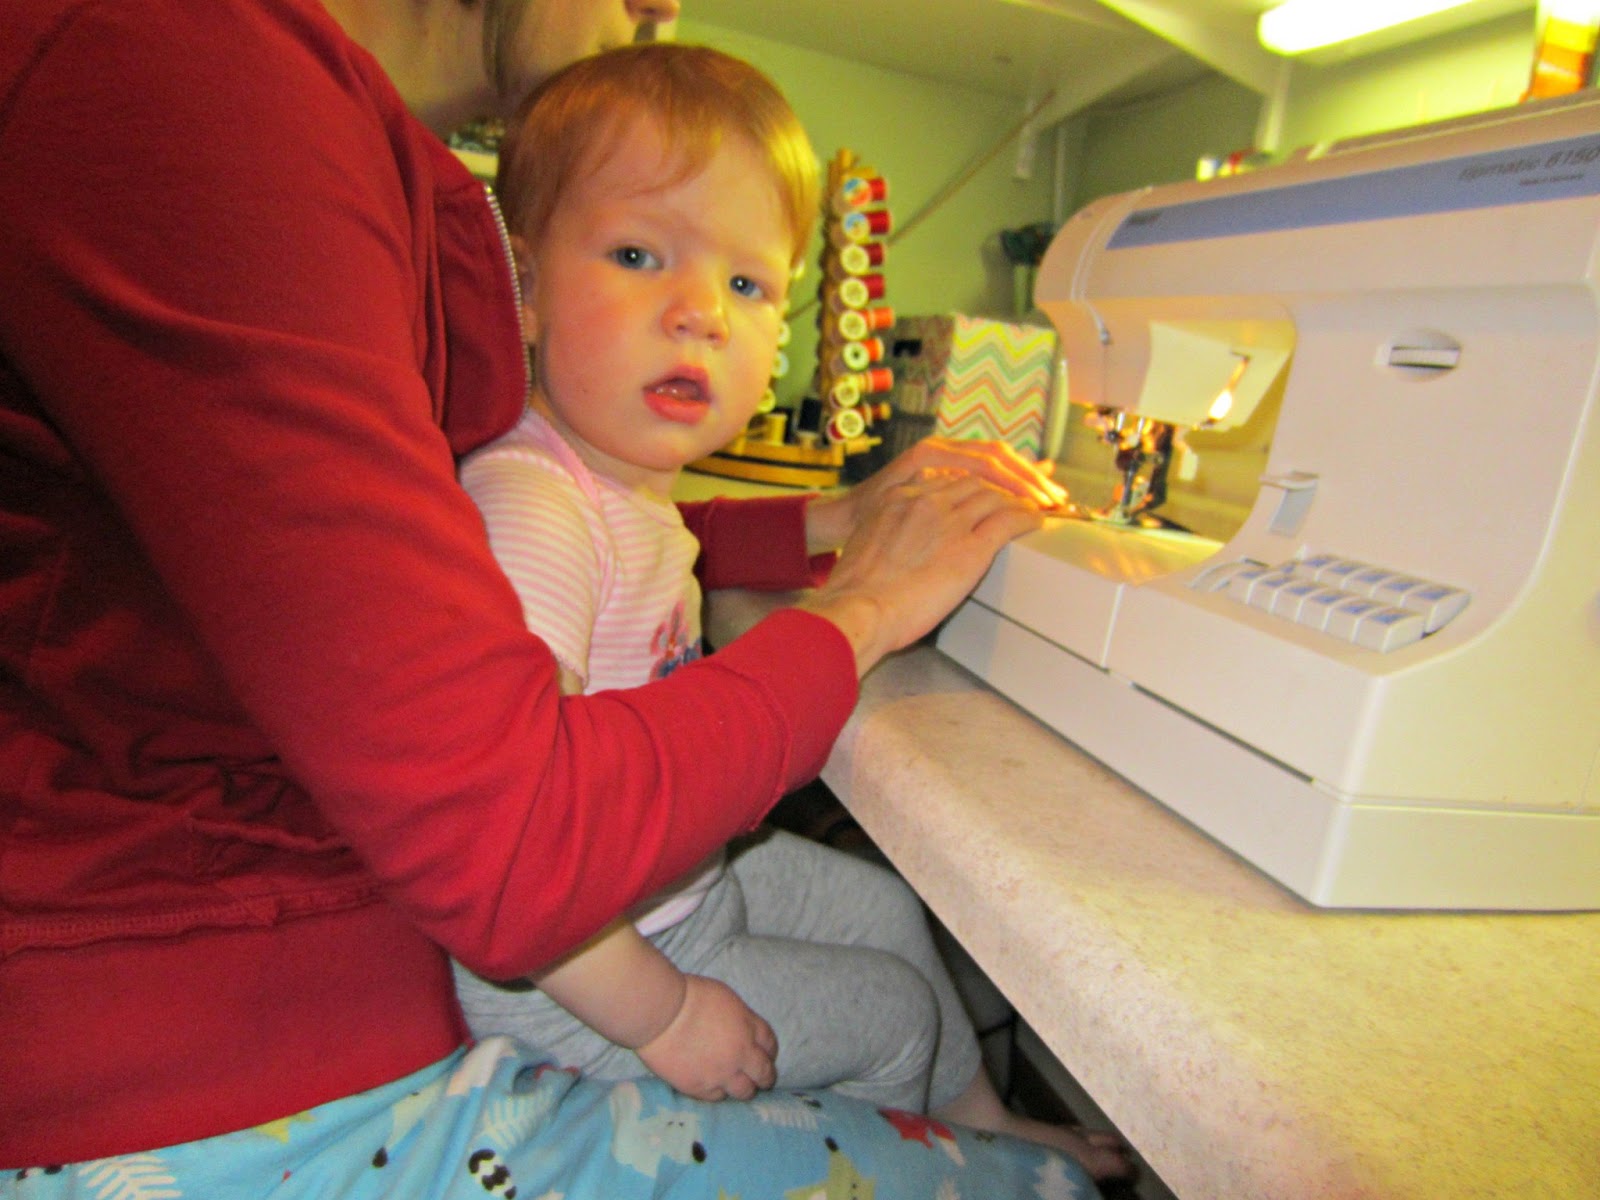
I have been working hard at building up my inventory for another craft show I will be participating in on June 1st. While it is easiest to work while the girls are otherwise occupied, some days I end up working while they are playing around me. And then there are days that I work while they are playing on me! :o) Shhh, don't tell OSHA! And don't tell anyone that some days I still am in my pajamas at lunch time.
I have been adding items to my Etsy shop and will continue to do so as my inventory grows for the show! Feel free to stop in a take a look around!